

Match Grade M1 Garand in 30-06.
So, a while back, during the earliest stages of the component shortage, I had ordered 1500 heads (bullets) from Sierra, a long story short they took about 9 months to actually show up. During that time, and because I am basically a cheap skate, I thought that this was the perfect excuse to immerse myself into the wonderful world of Bullet Casting.
Some cast lead RCBS 170 Grain Gas Checked , sized and lubed bullets.
This expedition began about two years ago, and over the course of those two years, I have actually begun to get happy with the results of my spending and labors. I’m not totally there yet, but I feel well enough on the way to begin adding some anecdotes into the blog about the basics of the process. Said articles will be forthcoming shortly, but for now, I’m going to jump ahead and a bit back at the same time.
In the article, “OK So, You’re Ready to Make Ammo? or Fill ‘Em and Stuff in The Cork!” I included a section on crimps. Shown were, no crimp, a slight taper crimp, and a factory crimp.
Left to right, a no crimp target load, a slight crimp for semi auto and a factory crimp for hunting ammo.
Well as it turns out, Cast Lead bullets are generally loaded to a lower velocity and pressure than the jacketed bullets we typically use in our hand loads. The corollary effect of this reality is that because of the lower pressure, powder ignition can be a bit uneven. This can result in varying flight characteristics which result in vertical stringing of your shot groups. One way to manage this ignition issue is powder selection. Typically powders assigned to cartridges originating during black powder days, with their more modest pressure curves, are the powders of choice. Alas, the current situation of powder availability restricts our choices, so it can evolve that we need to utilize a less that optimal powder for the application we have in mind.

Join the NRA to Protect our Second Amendment. Save $10 off your membership by clicking here.
The general thinking is that delaying bullet flight slightly allows the pressure inside the case to rise, thereby assisting in the powder ignition process inside what are typically only partially filled cases. One method of achieving this is to load the projectile out until it actually engages the rifling. Another is to apply a crimp to the case and bullet. Both of these methods have the effect of slightly delaying the initial movement of the bullet down the bore allowing the powder a microsecond longer to get evenly burning, more consistently propelling the bullet down the bore and down range. This is the theory anyway.
I have been testing a lot of cast bullet rifle loads with varying degrees of success. I will be discussing what led me to wonder about the crimp thing in some of the articles which will be forthcoming on the topic, but in the mean time, here’s an addendum to that discussion of crimping in the article “OK So, You’re Ready to Make Ammo? or Fill ‘Em and Stuff in The Cork!”
Lee Factory Crimp Dies in .223, .308, and 30-06. Less than $20.00 ea.
I went out an purchased a set of Lee Factory Crimp Dies in 308, 30-06, and 223. They were certainly cheap enough so I went for them in all my hand load calibers. I happened to have about 80 rounds of .308 with 170 grain cast heads sitting waiting for a day of fun at the range. They were a proven load that for the most part was I have actually happy with for practice. So I designed my test around them which consisted of crimping two alternate rows of previously loaded cartridges and adding the rows between to my test as uncrimped. Not an entirely random selection but it should be good enough.
I had about 80 rounds of cast lead .308 hanging around waiting for a range day, so I designed a test using them.
The crimping procedure is simple enough. Screw the appropriate die into your press until it contacts the raised ram with the appropriate shell holder in place. Tighten the locking ring until it contacts the top of the press.

Screw the die into the press until it contacts the top of the shell holder in the ram.
Insert your first loaded cartage into the press and raise the ram. All things being equal nothing should have happened. Screw the die more deeply into the press by 1/8 to 1/4 turn and raise the ram again.
Raise the ram to the top of it’s travel and you’ll see the bullet pass through the collet. Tighten the die a bit more to achieve the desired crimp.
What happens as the die is seated more deeply into the press is that the shell holder contacts the bottom of the die which is actually a collet which is forced upward into the die body where an internal bevel forces the collet wings to close around the case neck, crimping the case neck onto the bullet’s body, or into the cannelure if one is present.

The red arrows show the bottom of the collet sleeve. The ram and shell holder force this up into the die closing the collet wings around the case neck and bullet to form the crimp.
You can adjust the degree of crimp by increasing the amount the die is screwed into your press, but there is a limit. Once the wings of the collet are fully closed when the ram is fully raised, you have hit that limit.
With the ram raised, the collet if forced closed around the case neck and bullet thus applying the crimp. The collet wings are almost fully closed here imparting a substantial crimp.
I was remarkably pleased with the crimp that the die applied in that it very closely resembled what we typically see as a factory crimp, so the die is aptly named. I will however, be replacing the lock ring on the die. The supplied ring is held in place with a rubber grommet and that is simply not consistent, in my mind, for repeatable setting, so I’ll be picking up some locking rings with set screws to replace them.
Note the very nice “Factory Crimp!” Compare this to the factory crimp on the comparison shot near the start of the article.
Sadly at this point I have not made it out to the range to test the outcome, but my guess is that we will see better groups from the crimped loads.
Check out the initial results of test firing in, To Crimp That is the Question.
20 Crimped (note the red mark on the bullet tip) and 20 uncrimped rounds ready for the range test.
While on the topic of specialty dies, I recently picked up another item, an RCBS collet bullet puller. I have been using a kinetic bullet puller for “like evah” and while the whole spring loaded clamp is a pain, the kinetic puller did a nice enough job. However, with the advent of the whole “Lead Bullet” thing the reality of “bullet Lube” shone it’s ugly face into my world. Now the kinetic puller pretty much winds up with everything inside the case depositing itself into the body of the kinetic puller, and you simply dump the powder past the bullet as you retrieve bullet and powder. This works great with jacketed bullets!
The RCBS Collet Bullet Puller. Caliber specific collets are supplied separately. Shown here are .30 cal. and .223.
But, with the nicely lubed cast and resized lead projectile, the sticky lube makes a complete mess with powder sticking to the projectile, case mouth and eventually to the wall of the kinetic puller as lube inevitably collects on the interior walls. So, a collet puller seemed like a good idea, even though the literature describes it as for use with jacketed bullets.
First assemble the little bugger according the the instructions, then, as always, screw the body into the press. Raise the ram inserting the bullet into the collet.
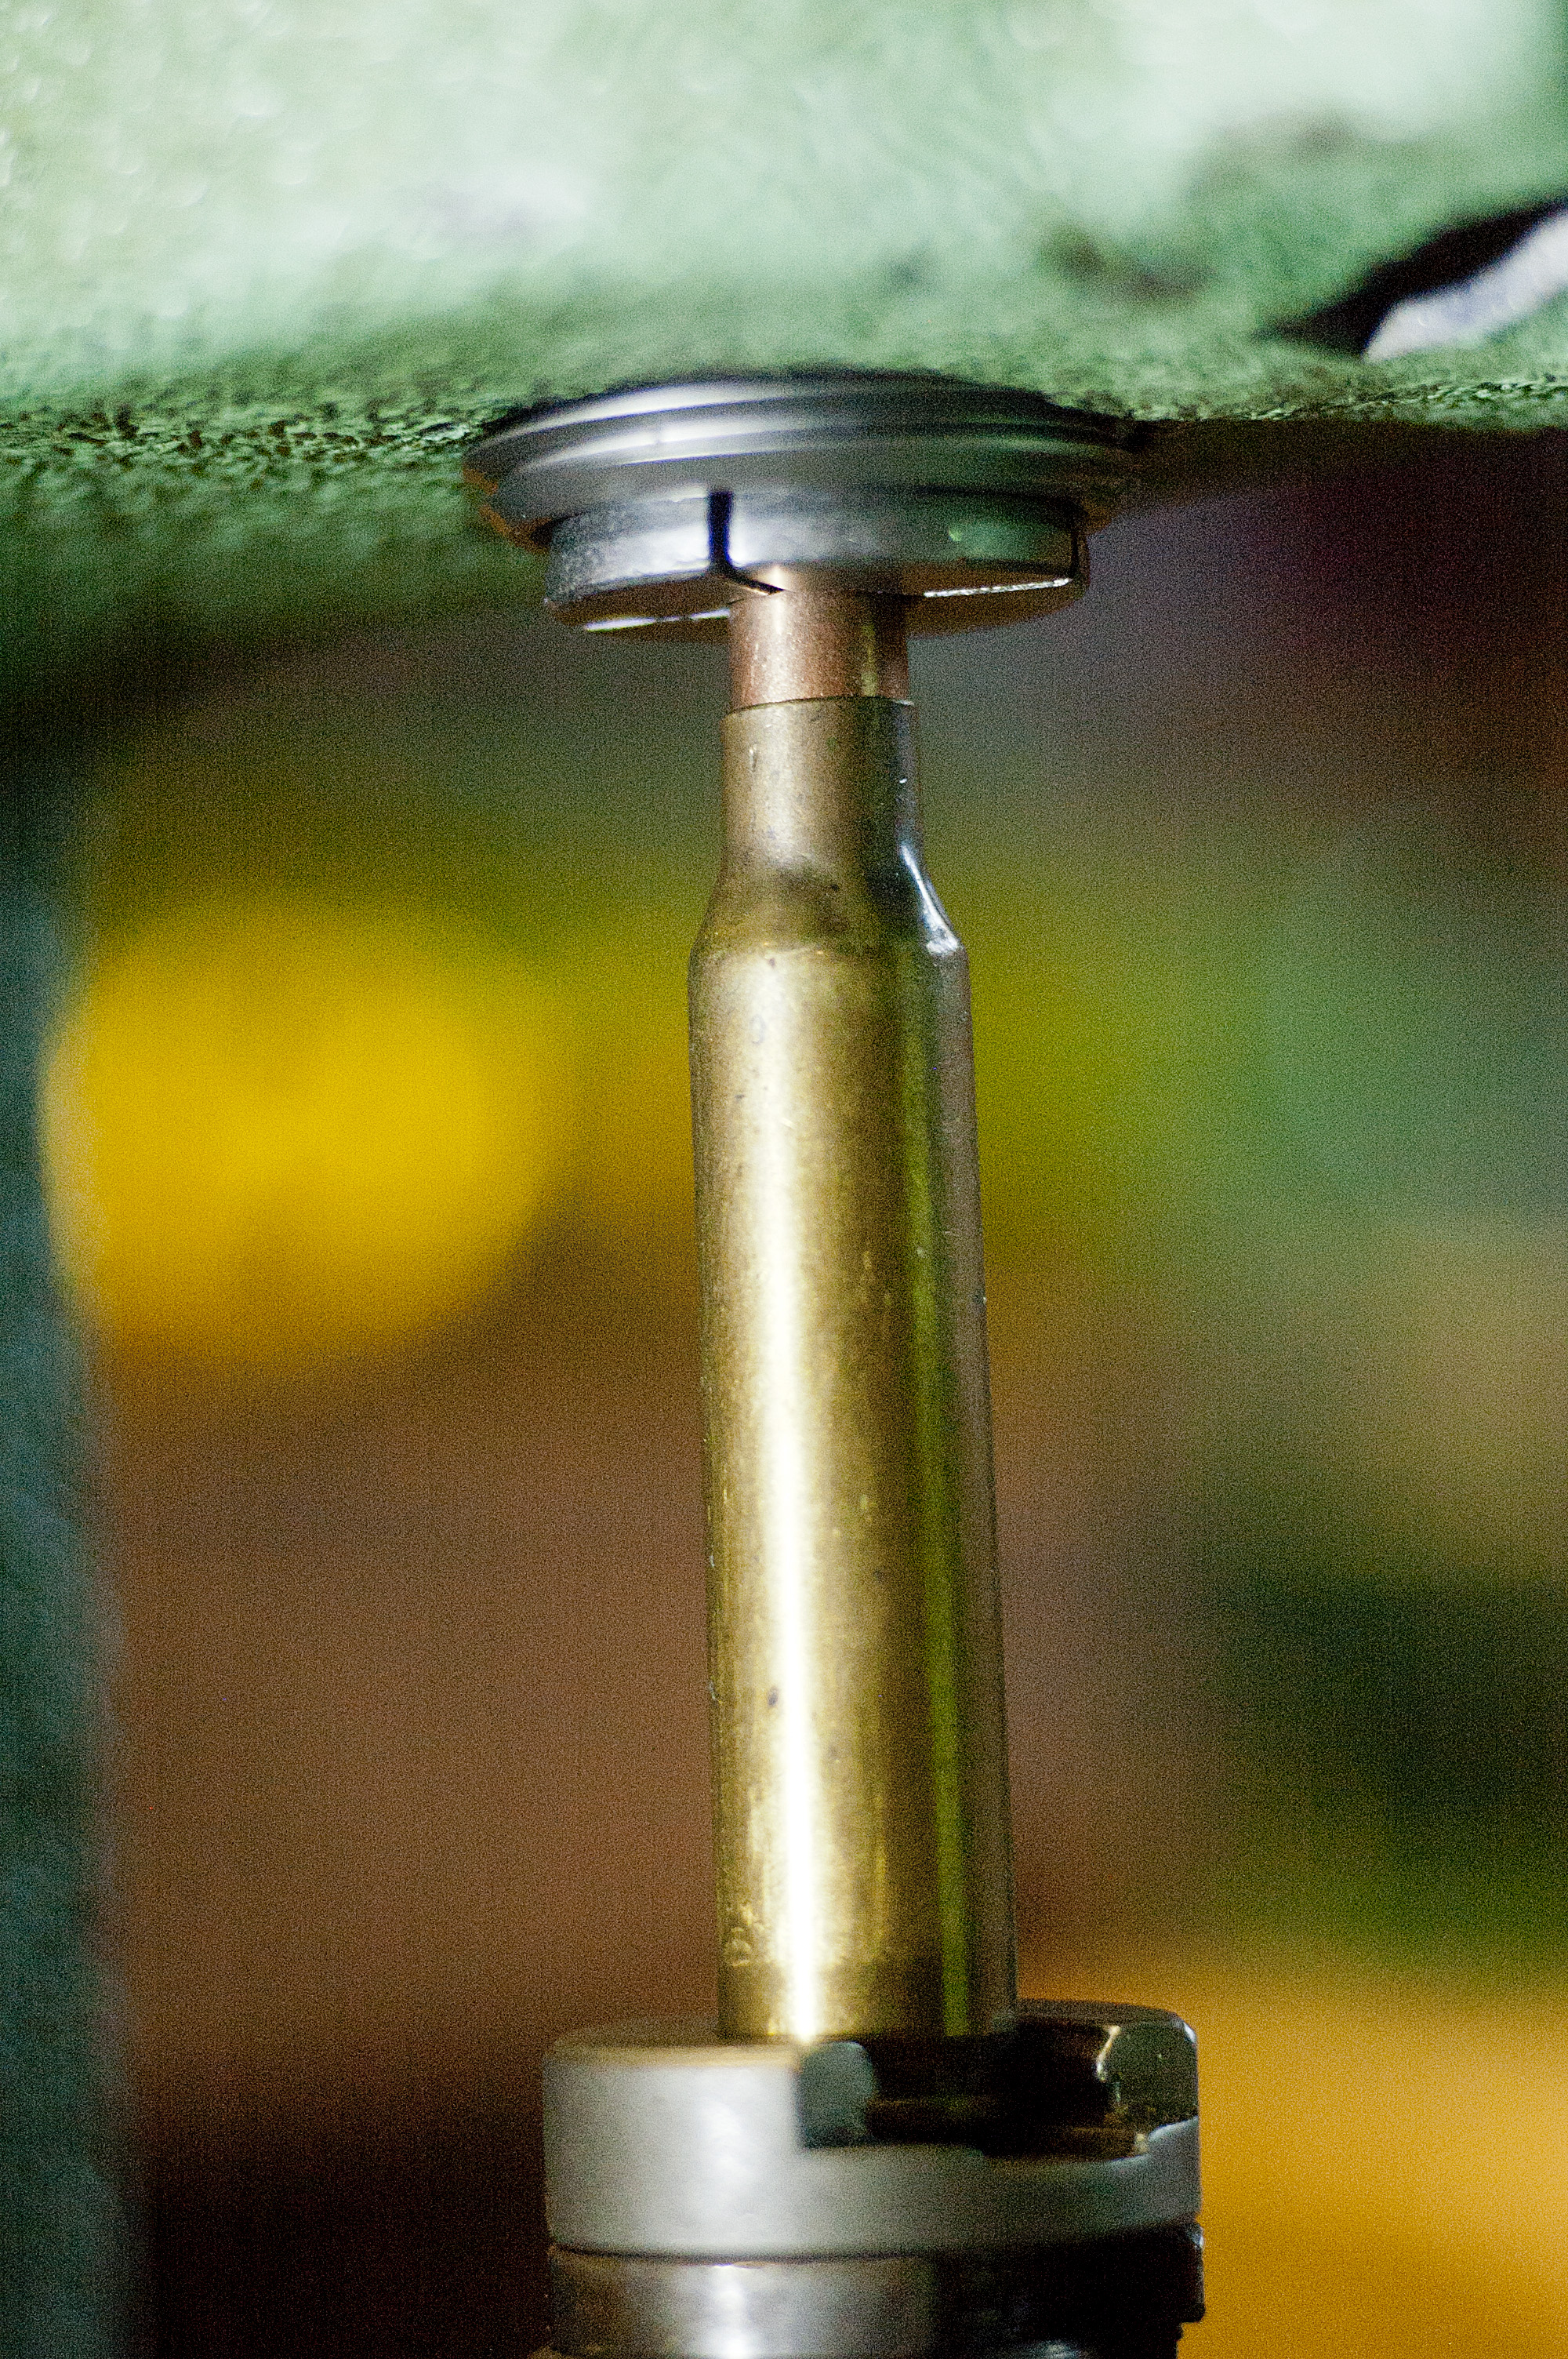
Raise the ram inserting the bullet into the collet.
Tighten the collet using the bar.
Tighten the collet around the bullet with the bar.
Lower the ram, Viola!
Vioila!
While shown here pulling a jacketed bullet, the idea is the same, and the advantage is simply that the powder, stays nicely contained inside the cartridge case, so if you are going to reinsert a new head on top of the load already in the case you can readily do so. On the other hand if you are reclaiming the powder clearly the case makes a very handy pouring devise, and the projectile stays out of the way.
They claim that the collet pulls the projectile without damage, but initial tests found that the bullet tended to get stuck in the collet and that getting the bullet out created some damage to the projectile, but that COULD BE simply a sticky collet. I’ll be lubing the bearing surface of the collet inside the die to see if we can free it up a bit and get back to you on it.

Pingback: To Crimp or Not to Crimp, That Is the Question – A Tale of the Tape | The Arts of The Fusilier
I’m ready for the range now after reading this. Fabulous! Good job Garuch.